Scenes from Radiance
The two scenes are based on two tutorials.
You can find the
radiance
home page here.
| |
|
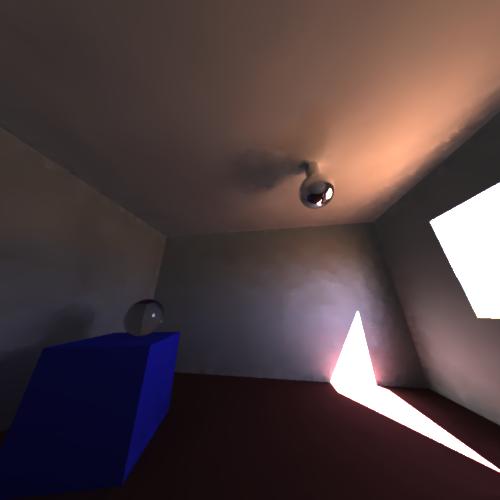
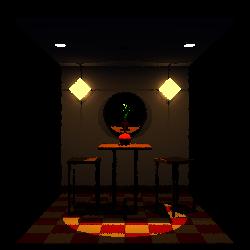
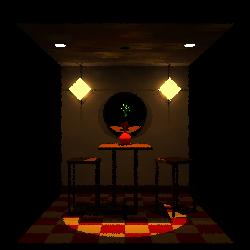
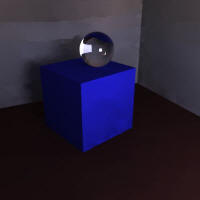
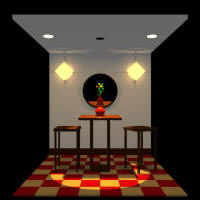
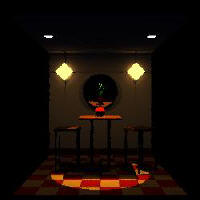
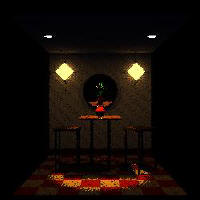
| Night |
Day |
| |
|
 |
 |
| |
|
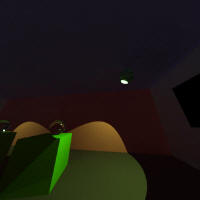
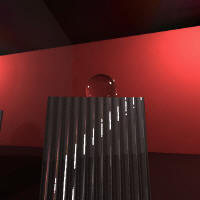
| Corner |
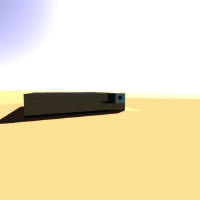
Glass building
outside |
| |
|
 |
 |
| |
|
| Spotlight |
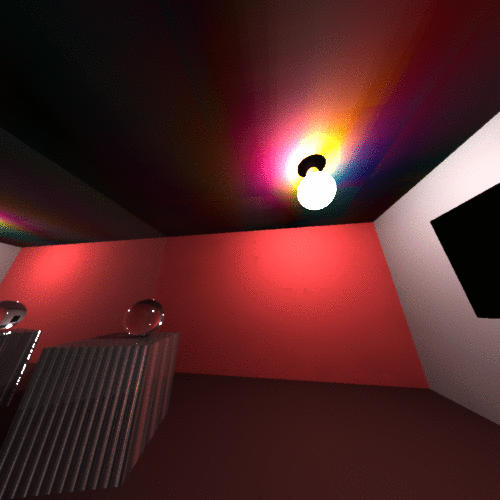
Procedural
rainbow on ceiling |
| |
|
 |
 |
| |
|
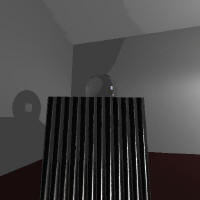
| Procedural
Rippling Effect |
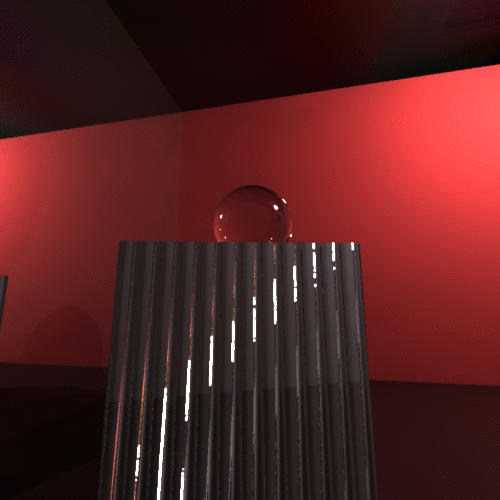
Extra Shininess |
| |
|
 |
 |
| |
|
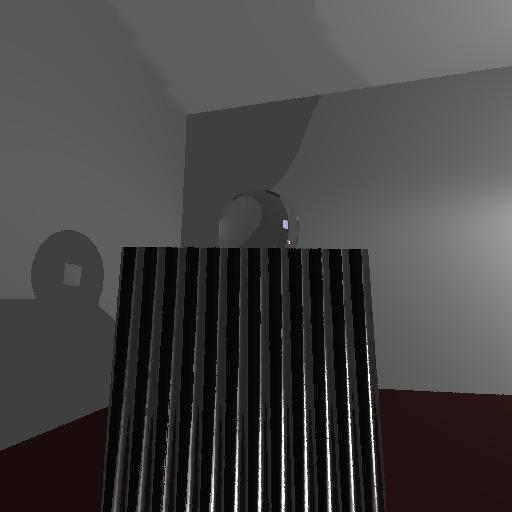
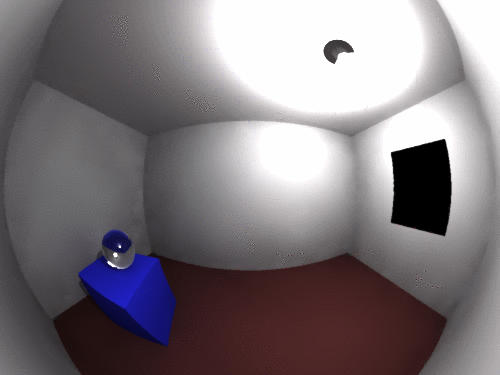
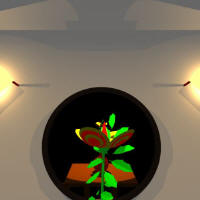
| Fish Eye View |
|
| |
|
 |
|
| |
|
| Old scene 2 |
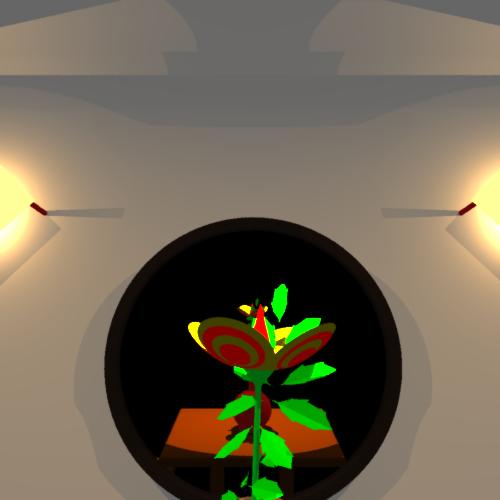
A simple flower I
made |
| |
|
 |
 |
| |
|
| Effect of the -ab
parameter |
|
| |
|
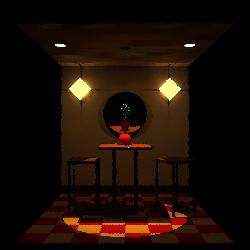
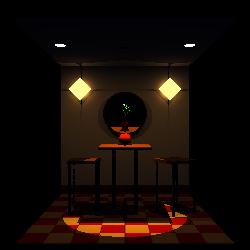
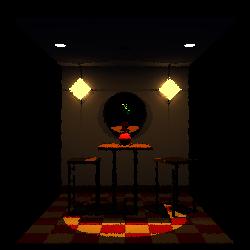
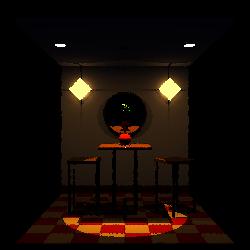
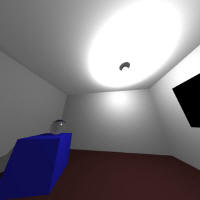
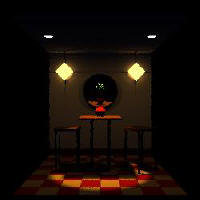
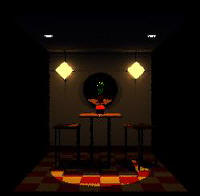
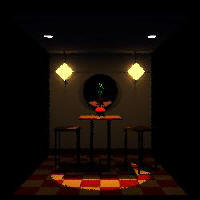
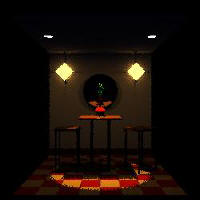
According to the rpict manual, the parameter 'ab' (an
integer), sets the number of ambient / diffuse bounces. The
value of 'ab' must be 0 or greater.
Conceptually, 'ab' varies the amount of calculations done for
inter-object reflections. At 'ab' = 0, inter-object
reflections is not taken into account, that is why the ceiling
in ab0.jpg is missing details compared to images generated
using other values of 'ab'. When the value of 'ab' exceeds 0
(i.e. inter-object reflections enabled), notice there is
little difference between the resulting images (observe the
ceilings). This is because the most dominate inter-object
contribution comes from the first inter-object reflection,
which is the motivation behind whitted raytracing. Still, a
higher value of 'ab' generates a more accurate rendering of
the scene, and the image looks smoother as a result (note how
the ceilings become smoother in its details as the value of 'ab'
goes up).
|
| ab = 0 |
ab = 1 |
 |
 |
| ab = 2 |
ab = 4 |
 |
 |
| |
|
| Effect of the -pj
parameter |
|
| |
|
According to the radiance manual, 'pj' sets the pixel sample
jitter, and its value must be greater than 0. The default
value of 0 samples pixel centers. A value of 1.0 randomly
distribute samples over full pixels.
This is my conceptual understanding of the influence of 'pj'
with reference to the manual entry. When 'pj' = 0, each ray is
shot from the center of pixels for sampling the scene. A value
of 1.0 will result in a randomly selected location in each
pixel where-through a ray is cast. If the value is between 0
and 1, i.e. 0.5, the ray is cast over a random area of
0.5*0.5=0.25, or 1/4 of a pixel around the center of the
pixel. Therefore, if 'pj' > 1.0, the ray may actually be cast
through other pixels and not the current one under
consideration, that is why the image quality greatly
deteriorates (i.e. the image becomes runny) as 'pj' becomes >
1.0. I have shown up to pj = 2.0 below, it is not difficult to
imagine (nor to show) that for example, 'pj' = 10 will produce
a very 'runny' rendering.
This method may work as a crude anti-aliasing technique, but
it may not produce satisfactory images due to its random
nature.
|
| pj = 0.0 |
pj = 0.5 |
 |
 |
| pj = 1.0 |
pj = 2.0 |
 |
 |
| |
|
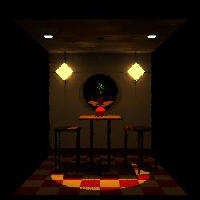
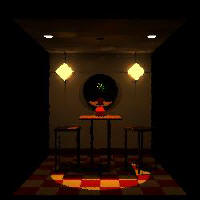
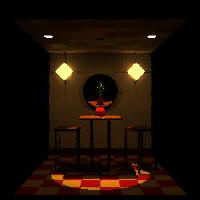
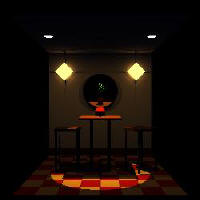
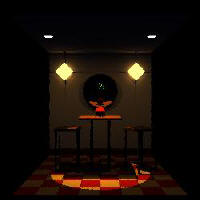
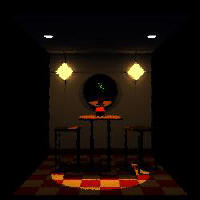
| Effect of the -ds
parameter |
|
| |
|
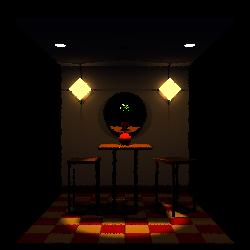
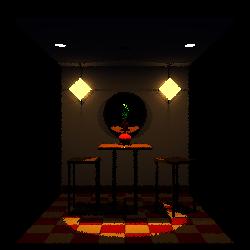
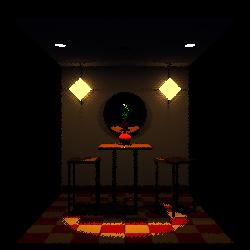
According to the radiance manual, 'ds', sets the direct
sampling ratio. That means, a light source will be subdivided
until the width of each sample area divided by the distance of
the light is below this ratio.
Since 'ds' has to be 0 or greater, I chose values 0.0, 0.1,
0.01 and 0.001. I expect that when 'ds' is small, the light
source will be subdivided more for any given scene and a more
accurate rendering will be produced. In other words, more
shadow rays will be used to sample a scene as 'ds' decreases
and remains positive.
I will explain this concept with respect to the series of
images I produced. When 'ds' is 0, only one shadow ray is sent
to each light source. That is why the circular shadow below
the table has very sharp edges. This is not true in real life,
and we would expect the shadow to have soft edges. So, I then
tried 'ds' = 0.1, 0.01 and 0.001. As you can see, the circular
shadow becomes increasingly softer when ds = 0.01 and ds =
0.001. Of course, when ds is very small, the change in the
amount of details becomes invisible. So, it doesn't make sense
to go any less than 0.001 for this particular view of the
scene.
There is not a distinct difference between ds = 0 and ds = 0.1
because 0.1 is a fairly large ratio. Of course, anything
greater than 0.1 will not make much of a difference either
from this view. Please note however, that 0.1 might have
produced a difference in other parts of the image that are not
visible from this view.
|
| ds = 0 |
ds = 0.1 |
 |
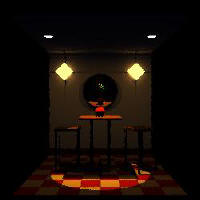 |
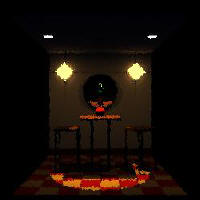
| ds = 0.01 |
ds = 0.001 |
 |
 |
| |
|
| Effect of the -dj
parameter |
|
| |
|
This
parameter is somewhat similar to pj in that it modifies the
direct source sample jitter, according to the rpict manual.
The manual emphasizes that the value has to be between 0 and
1, otherwise, aiming failures may result.
'pj' by default is 0. That means one ray is shot through the
center of each pixel. While pj modifies the pixel area through
which to cast the ray, dj modifies the source sample area from
which to (randomly) pick the sample. For example, when dj is
large (i.e. 1.0), when the ray hits a light source, it does
not directly sample that light source. Instead, it randomly
samples from an area equal to dj*dj about the intersection
point. It is obvious that the bigger the value of dj, the more
jittering, or randomness, will be present in the rendering.
These results are exemplified by my pictures below.
|
| ds = 0 |
ds = 0.3 |
 |
 |
| ds = 0.6 |
ds = 1.0 |
 |
 |
|